


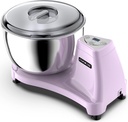
Dough Mixer with Fermentation Function for Home Kitchen, Smart Touch Panel, 5 QT 230W Multifunctional Dough Machine with Kneading Knife for Pasta, Baking, Cakes, Cookies, Mixing (Purple)
$ 312.09
$ 312.09
350g Grain Grinder 1500W Electric Spice Grinder High-Speed Stainless Steel Flour Mill Suitable for Coffee/Corn/Pepper/Herbs/Wheat/Rice
$ 165.23
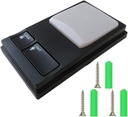
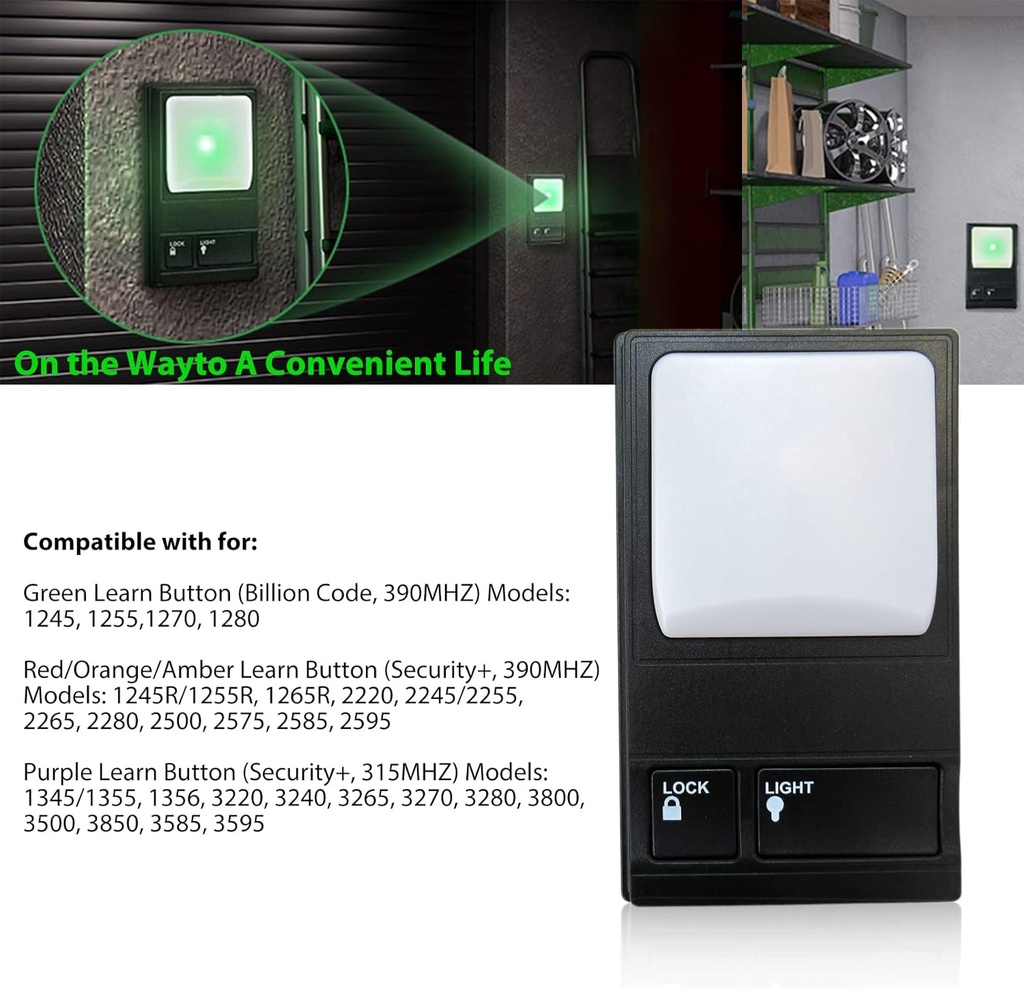
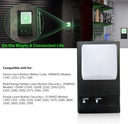
$ 165.23Multi-Function Control Panel 41A5273-1 Garage Door Opener Wall Mounted Button Replacement Panel Wall Keypad Button for LiftMaster 41A5273-1 78LM, 81LM, 371LM, 971LM Garage Door Opener
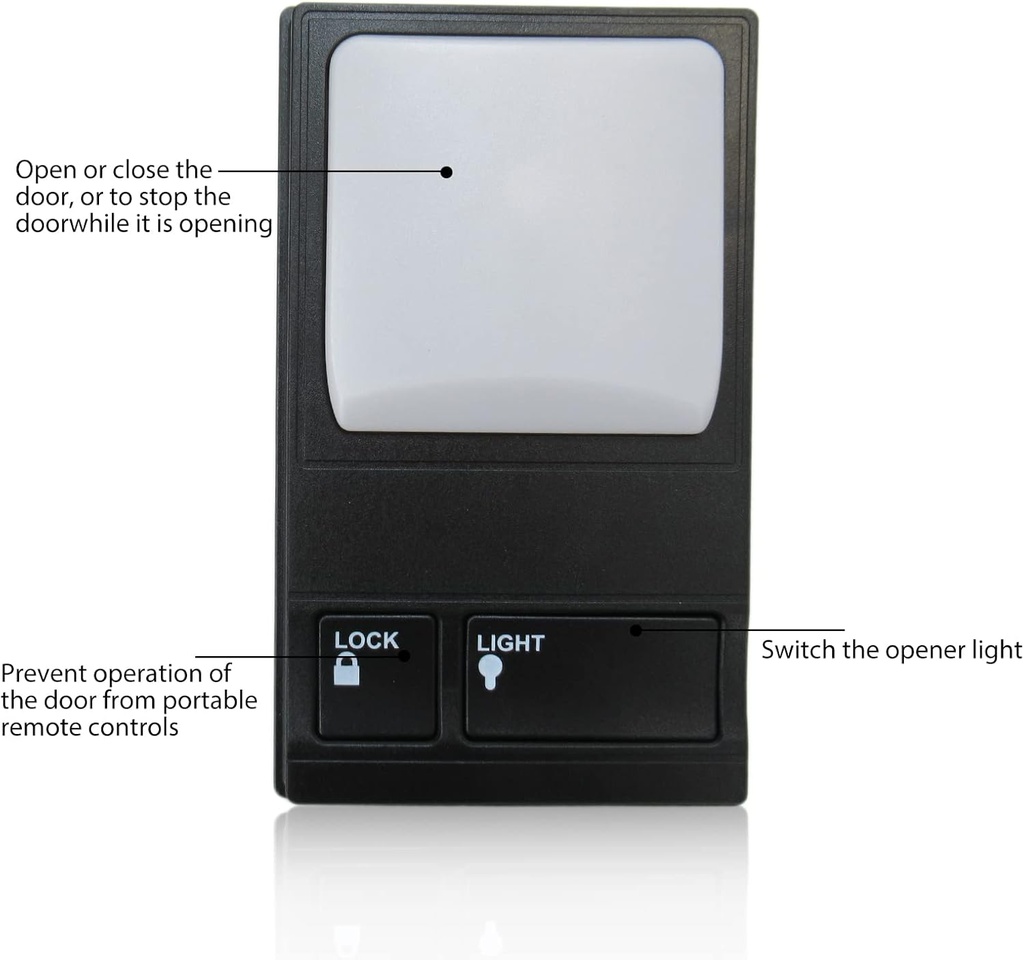
- ✪Multi-Function Garage Door Buttons: The top square button can control the opening/closing of the door, or stop the door when it is opening; The lock button can prevent operation of the garage door from portable remote control, provide stronger security; The light button controls the switch of the opener light, it is quite convenient for you to operate the pancel even at night.
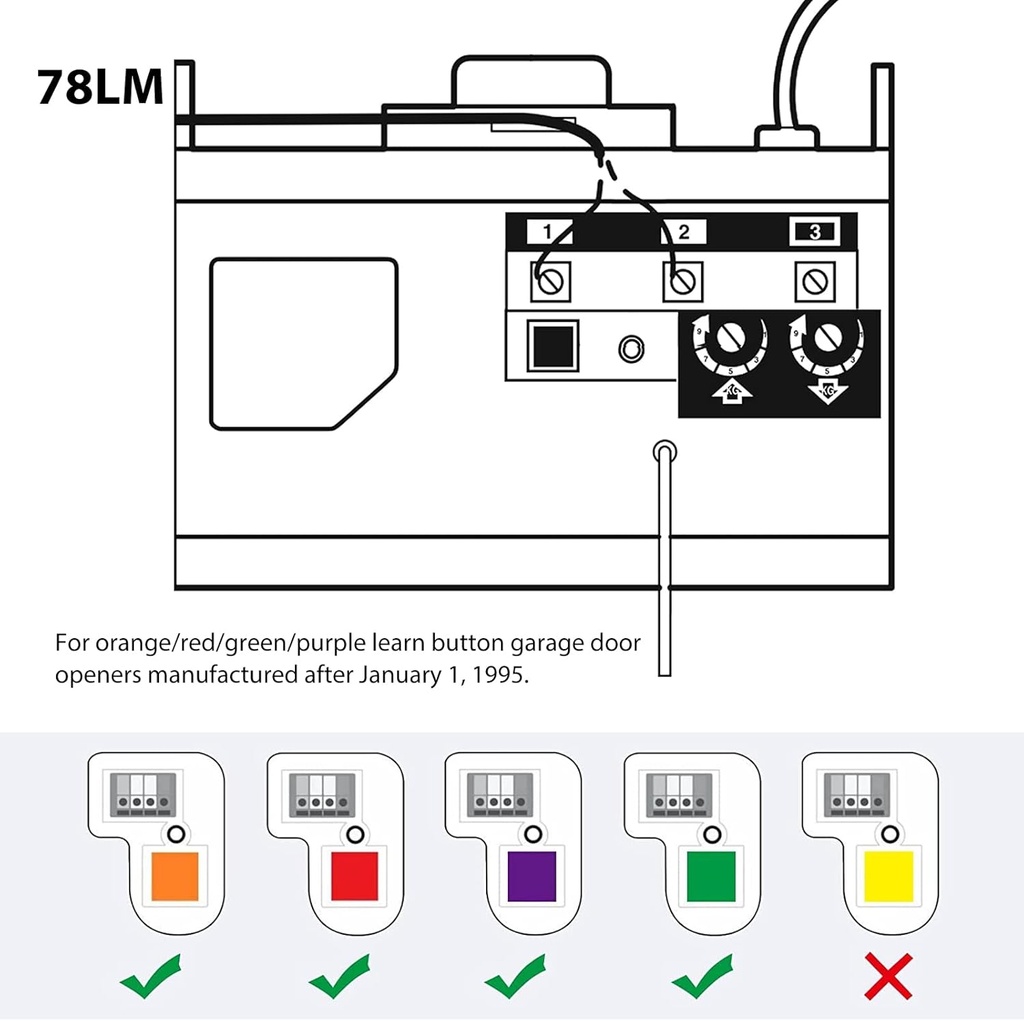
- ✪Garage door replacement panel: the garage door keypad is compatible with various types of garage door openers systems manufactured after January 1, 1995, e.g. AC screw drive garage door opener, AC belt drive garage door opener, AC chain drive garage door opener.
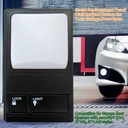
- ✪3 Multi-Function Control Buttons: Door Control Push Button: Press the big white top button, the door will open or close, or to stop the door while it is opening. Light Button: Turn on or off the opener's light. Lock Button: Designed to prevent operation of the door from portable remote controls. More safe and security.
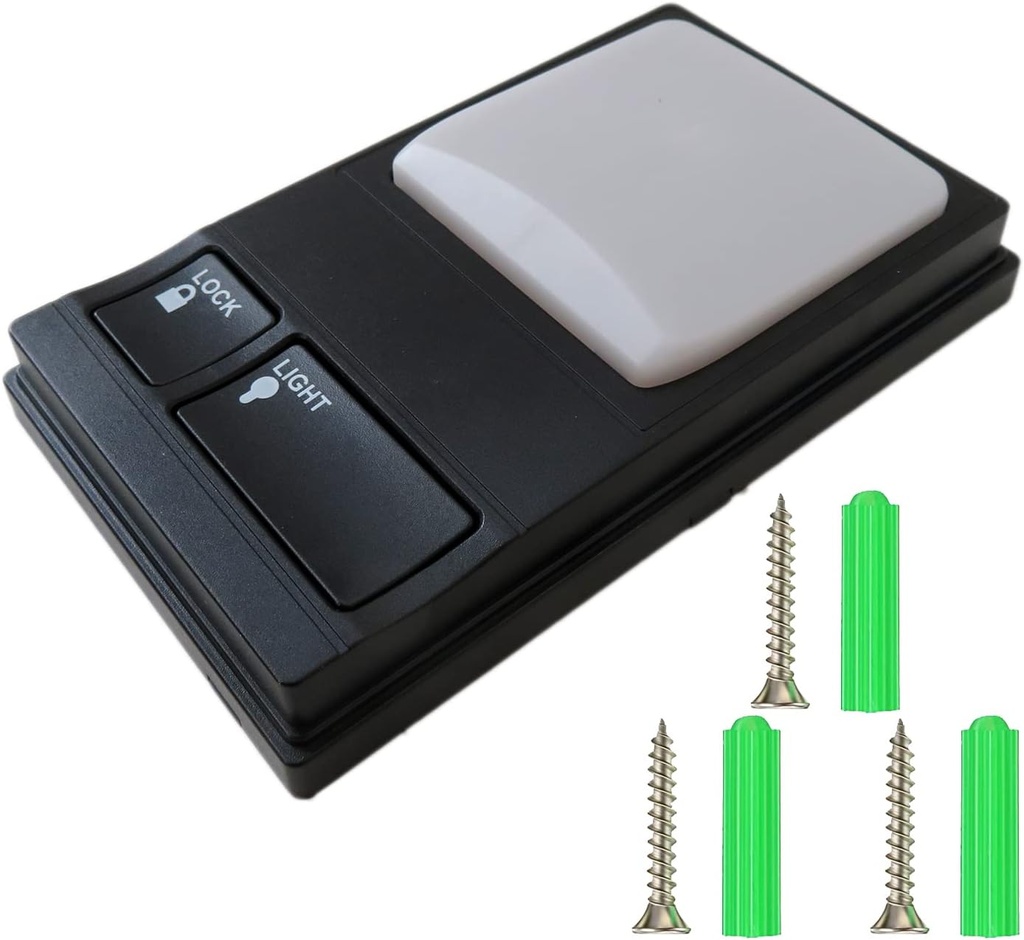
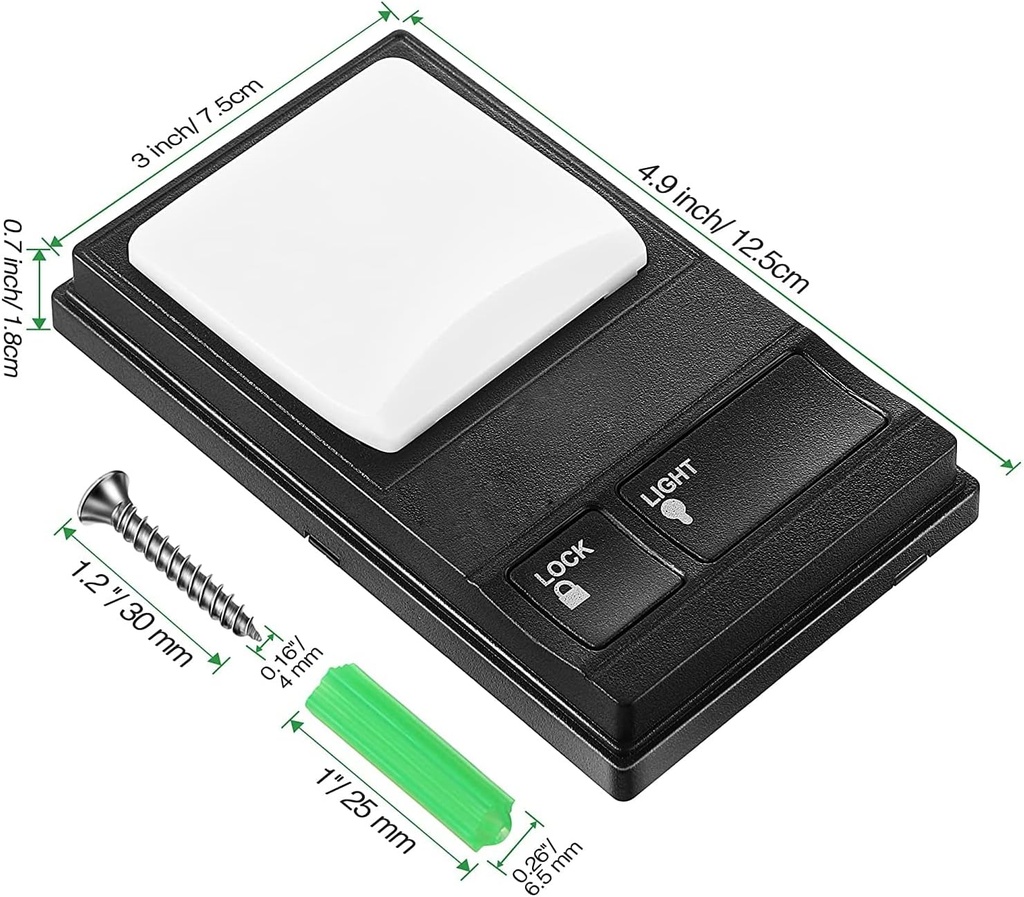
- ✪Easy to install: Firstly, pass your wires through the hole of the the back cover, then use the include screws to fix the back cover on the wall nails (Do not over tighten). Lastly, connect the bell wire to terminals, and buckle the circuit board to the back cover.
- ✪Warm notice: please disconnect the power before installment for safety; The garage door control panel is compatible with 41A5273-1 78LM garage door opener systems; The red and white cords are not included.
| Manufacturer | Nghtmre |
| Unit Count | 1.0 Count |
| Control Method | Remote |
| Controller Type | Push Button |
| Actuator Type | Push Button |
| Item Weight | 1.76 Ounces |
| Part Number | Garage Door Remote Opener |
| Batteries Required? | No |
| Batteries Included? | No |
| Brand | Nghtmre |
| Product Type | Electronic Switch |
-
Save 10% when you buy two or more items.
-
Get 5% off your next purchase.
-
Enjoy free delivery on orders above $200.
-
Orders are processed and shipped from Washington
3-6 days (Domestic)
Confidence-backed purchases with 30-day return support.
USD |
BRSRM2TYC55R4CTD |
Category |
Tools & Home Improvement , Building Supplies , Building Materials , Doors , Garage Doors, Openers & Parts , Keypads & Remotes |
Tags |
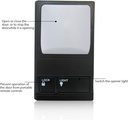
[ Open/Close the Door ] : The square garage door console button is to open or close the door, or to stop the door while it is opening.
[ Opener Light Control ] : Press the light button to switch the console light, convenient to operate the panel in the dark.
[ Lock Function ] : The lock button to prevent remote control, improve security.
How to Install this 41A5273-1 78LM Multi-Function Control Wired Wall Panel?
Step 1: Pass the wires through the middle hole.
Step 2: Use the screws to fix the back cover on the wall.
Step 3: Connect the red wire to position "1", connect the white to position "2". (Wires are NOT included)
Step 4: Snap the Panel onto the back board.
Warning Tips:
1. Only compatible with GREEN, RED and PURPLE learn button Liftmaster garage door openers.
2. Be sure power is NOT connected BEFORE installing door control.
3. Connect ONLY to 24 VOLT low voltage wires.
4. Locate the door control within sight of the door at a minimum height of 5 feet(1.5m) where small children cannot reach.
Shipping & Delivery
At GofinchKart Australia, we aim to deliver your order quickly and safely.
Domestic Shipping (Australia):
Orders are typically delivered within 3–7 business days.
International Shipping:
Estimated delivery time is 12–26 business days, depending on the destination and customs processing.
Once your order has been dispatched, you will receive a tracking number. Delivery times may vary during public holidays or due to unforeseen delays.